
I was in a bit of a catch-22 situation when I first opened up my Neat Bumblebee II microphone here. On one hand, I’m impressed that Neat has moved away from their yellow and black bumblebee colour schemes on their microphones for the second iteration. It makes them suit modern gaming desk setups without standing out like a sore thumb. But on the other hand, I’m also torn because that bumblebee colour scheme was also really unique and made them stand out among a sea of gaming condenser USB microphones.
The Neat Bumblebee II microphone is a very understated bit of kit. It stands at around eight inches in height and around four to five inches at its widest point while sitting on its desk stand. It uses what they’re calling a yoke mounting system, which allows you to tilt the microphone towards your mouth a lot easier if it’s sitting below you. The base stand can also be removed too if you’re wanting to use the Bumblebee II with a boom arm, and there’s an included 5/8-inch threaded adapter if needed. Be warned though, that my 5/8-inch adapter is now stuck in the bottom of my Bumblebee II, and I had to actually pry it from the base with a pair of pliers. Not ideal if you ask me.

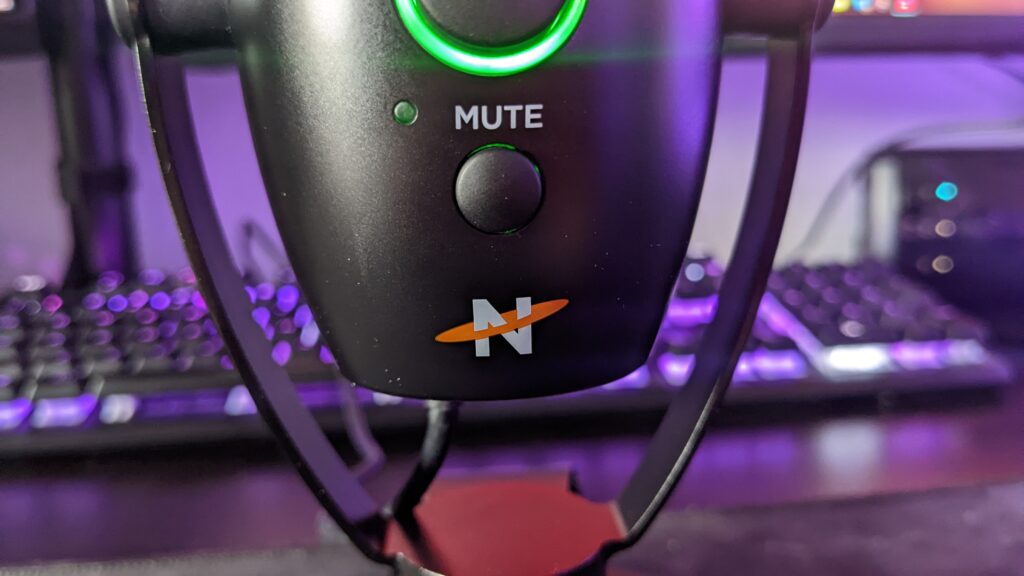
The Neat Bumblebee II microphone is pretty much plug-and-play and away you go. There’s no driver software you need to download, and all settings you really need to get yourself going are built into your Sound settings in Windows, though you can access these too with the button on the front of the microphone itself. The yellow light will adjust the listening level of the headphones plugged into the microphone. Yes, there’s a 3.5mm aux input on the base next to the USB Type-C input. Yes, it’s USB Type-C so it can connect straight to your PC. Blue indicates that you’re adjusting the gain of the microphone, which directly correlates with your Windows Sound setting. I’ve found a comfortable level of around 70 to 80 in terms of gain on my PC while using the microphone with Discord to talk to my friends. And finally, Green will adjust the balance between the Bumblebee II’s source signal and the return signal coming back from your computer. In other words, it balances what you hear in your headphones as monitor audio between voice and game. So everything you need is really at your fingertips. Underneath the multi-function knob, there is a mute button, which completely cuts the microphone from picking up voice, and I must say, there was no real audible click or thud like you get with something like a Blue Yeti when clicking the mute button. There is an internal shock mount though which is a nice touch in case the microphone is knocked or you need to move your boom arm.

However, what is different from something like the Blue Yeti is build quality. While the mesh area on top is made from metal, the main body is made from plastic, which keeps the weight down to around 400 grams which is pretty lightweight. The yoke mount is also metal, giving it a nice solid build and I never felt like day-to-day use of this particular microphone was ever going to be too damaging. Sure you could pick up a few scratches on the body if you’re going to be carrying it around with you on the move, but it’s not a bad build by any means. There’s very little wiggle with the buttons too, and they give off a nice solid click. It’s got some really subtle branding, with the N symbol for Neat on the front and back of the microphone.
Now in terms of audio quality, the Neat Bumblebee II I thought was actually pretty decent, considering this is a sub-£100 microphone. It worked perfectly for my streaming setup as well as talking to my friends in Discord while trying to get the dub in a game of Apex. I will say however that I was told at first that my gain was set far too high for the distance I had my microphone to me. The Bumblebee II’s proximity effect isn’t the best. I’m used to my Rode Procaster, so straight away stuck the microphone right next to my mouth and away I went. However, my gain was WAY TOO HIGH for this. I dropped it down to around 70, which gave me a better sound, but was still sounding a little too boomy and was actually slightly clipping. Being a condenser microphone, you don’t really want to be on top of the mic, instead opt for the microphone to be placed around five to six inches away from your mouth. This way my voice sounded a lot cleaner, and plosives were kept to a minimum too. But saying this, plosives are pretty well controlled on this microphone anyway, and to be honest unless you’re super picky about your audio, you’re not going to need a pop filter for typical live streaming.

I found the best audio quality to come from the microphone around six inches away from my mouth and my Windows gain set to around 80. This was also good enough to hide any kind of keyboard noise from clicking mechanical keys and the fan noise from my O11 Dynamic wasn’t heard at all, especially when game sound was added to the mix too. The microphone to let you know too is placed facing forward, similar to the Yeti, so I don’t want to see anyone speaking into the top of the Bumblebee II. This also helps with reducing off-axis audio, which again is pretty well controlled and almost non-existent in my situation with live streaming. The mic has a frequency response of 20 Hz – 20 kHz with a sample rate of 96 kHz and a bit depth of 24 bit. More technical specifications can be found here.
The Neat Bumblebee II is I would say a pretty fantastic product, that not only looks good, though missing its yellow and black stripes, but produces a very clean sound. It’s a great microphone for live streaming and one that would look quite decent on the gaming setup. I especially liked the noise rejection from the side and rear of the microphone, making it suitable for those with clicky keyboards or fans running in the background. I was a little annoyed with the quality of the thread on the base when using it with my boom arm, but it is a sub £100 microphone, so it’s not going to be the best build in the world. But as microphones go, this is actually an impressive piece of kit, and I really couldn’t recommend it more if you’re after a USB mic solution for your gaming setup.