Now I’m not really typically up to speed with action cams and I didn’t really have much of an idea of how to really approach testing it. I use my Osmo Action 4 for my football videos, and I take it on holiday with me when I go. I also use it to create content on the channel, like time-lapse setups and more vlog-style commentary, as I have my little lav mic too. I’ve also recently started running too, and thought I’d give the SJCAM C400 a little test there too. Now this video isn’t going to stick to any real kind of order. It’s a bit messy, but there will be chapters below for you to scrub through if you didn’t want to listen to me bang on. Anyway, let’s start with how I used C400 for my football
Football
Well, straight off the bat, I can safely say that I probably wouldn’t go back to using the C400 for my football. Why? Versatility. At football, I mounted the C400 to my usual spot on the fence behind my goal and under the flood lights, I felt okay about the footage quality that the C400 achieved but more on this in a moment. I do still have my reservations about it though, because it presented me with a big problem, and that’s the fact that it’s only got a front screen on the little camera, which means framing my shot was guesswork, as you can see here in my footage from my first football session on screen now and the absolute failed attempt of capturing any action whatsoever. It was just pure guesswork mounting my camera to the fence, and it was a disaster.
I did take the handle with me to a second session because it acts as a wireless monitor to the action cam to make framing a little easier, but the lag experienced between the two when trying to mount the camera just got in the way of framing my shot in the little time I have to get my camera set up before the session starts. It’s all just a bit too clunky for something I need to be quite quick to set up and go. And yeah sure, I could just stick to the action cam only, run around the fence and check my framing on the front screen, but because the screen is so small, by the time I get close enough to actually see it, I’m blocking the shot with my face and body anyway which makes me unsure if this is something that I’d really want to switch out from my Osmo Action 4 to. There’s just too much that can go wrong in actually framing your shot, unless you also bring along the handle with you and you’ve got time to wait for the lag to stop before moving the camera to a new position to get it right.
If I was to compare apples to apples, and film my football with both my Osmo Action 4 and this SJCAm C400 (what I captured with it anyway at football) both at 1080p 60fps, both with the highest range ISO available and no exposure compensation and both mounted and framed as best I could, the C400 unfortunately fell down with its focal length in terms of width, I must say the quality of the images in low light under the flood lights isn’t too bad at all. I mean, I do prefer the framing of my Osmo, and the flexibility of mounting it properly and having that rear screen to really be able to frame my shot, but that being said, I’m impressed with both. Oh, and as you can see, the C400 puts a watermark on the footage, which is not ideal, and it really is a bit pretentious.
Lastly on my third session I messed around with the exposure to see if I could brighten my image at all in camera, and so I set my exposure compensation to +3 which, looking at the footage, was way too high. I managed to brighten up the scene, but then I feel like the footage was looking a bit too unnatural. BUT! At least I’m getting used to this framing. But I did find out another issue. I turned on the camera, the little one, by pressing the button on the front. I then turned on the handle, by rotating the screen. I framed up my shot as best I could. All good. We were ready to go. I clicked the record button on the handle, and we were away. I then turned the handle off, and realised by doign that, I had also turned off the camera. They’re connected. I then had to quickly run behind the goal, get the camera switched on again and click record. Having the handle and camera work so closely to eachother doesn’t work all the time. But anyway, that’s where we’re at with my football. I’d rather use my Osmo. It’s easier to set up and has a wider field of view. But before we talk about running, let’s talk about field of view because…
Running
So running! Let’s talk about it because I’ve taken the camera out for a couple of runs now. And first, I thought the best way to mount it on myself was by using the magnetic necklace mount that comes in the box. The camera was set at 4K 30FPS, which could be a bit low for smooth footage, though I did switch on the Horizon Steady feature thinking it would be similar to how my Osmo Action 4 would act. Oh how wrong I was. The video footage I captured was just so alarmingly bad, but it could have been down to my looser fitted clothing. Still, this thing has a six-axis gyro in there for stabilisation. And maybe it was my settings, but it just gave me such awful, jarring footage. Walking wasn’t as bad and the camera was able to keep shake under control, but it still detected ground strikes with my feet. It’s a far cry from the top-range action cams on the market out it that way, and it’s where you start to see just how budget this thing really is. I mean even slowly panning the camera in the same 4K 30FPS quality with Horizon Steady switched on, the footage just seemed so incredibly noisy and grainy, like it was shot on a cheap CCTV camera or a 10-year-old mobile phone. When Horizon Steady is switched off, it can provide clearer footage because it’s not being punched in. However, you’re then going to be introducing a lot of shake into your footage if you’re going to be using it as an action cam.
The second time I went out for a run, I left the magnetic necklace back at home, and opted to hold the camera in its handle instead, to show off the different stabilisation modes. Though I must say you’re not going to want to hold this out in front of you for long periods of running time. You can see straight away that any stabilisation switched off just provides a with a very unusable piece of footage. Turning on the anti-shake helped a lot though with this, and turning on Horizon Steady helped even further, btu it’s still not a very smooth piece of footage, and everytime my feet landed on the pavement, the camera detected the shockwave. It still wasn’t a smooth enough experience for me to really call this a true action cam, especially as this thing with its accessories can cost as much as an Osmo Action 4 without its accessories, if that makes sense. Even for vlogging, there’s a challenge with the field of view. Let me explain.
I recorded a quick segment in my office, to showcase just how servere the crop is when it comes to the Horizon Steady feature. If you’re wanting to hold this camera out in front of you, you’re going to need some pretty long noodle arms to even get into frame properly. Which is a negative for me too because if you’re walking without any stabilisation on your footage, it’s going to look very, very shaky.
I will say that the C400 isn’t sold as a sports action cam, despite the website showing off mountain biking, but if my run is anything to go by, then let’s just say I wouldn’t be buying this camera to give you some nice smooth shots while you bomb it through a forest trail. It’s been branded as a vlogging camera, and if you’re going to be calmly walking around a city, going to museums, trying new coffee shops or going on a casual bike ride along the river, then crack on. Though the actual quality of footage achieved isn’t great, and chances are it’s probably worse than the camera on your mobile phone.
If you didn’t want to shoot in 4K, you can drop the resolution to 1080p or even 720p, with a max FPS now of 120, so you can begin to get smoother-looking shots. However, the quality of shots gets worse, and the 4K 30 mode isn’t exactly great, especially if you’re using the Horizon Steady mode. You can encode in h.264 or 265 and can change things like your exposure, white balance, saturation, sharpness and ISO and more to really customise your video image. However, under each option, you’ve only got Soft, Normal or Strong settings to choose from. Other modes on the action cam include photo, with burst fire capability, a dashcam mode, slowmotion and time-lapse. It’s got livestreaming capabilities directly from the camera, and you can use it as a webcam too if you plug it into your laptop or PC. Its UI is really simple to navigate, which is great to see, though some setting names are so long that the camera scrolls through them. Swiping right or left on the main screen switches between video and photo modes, and swiping down makes your settings menu appear. Low light filming is a bit of a no-go too as it looked way too dark.
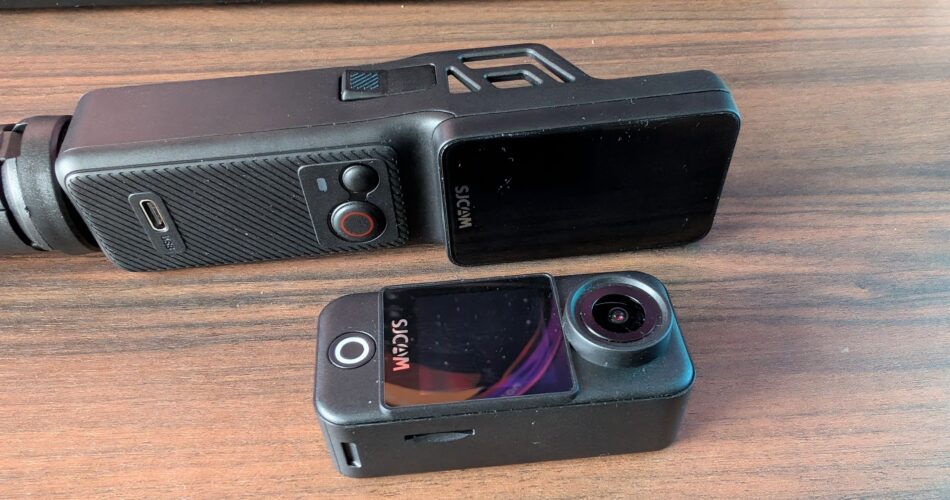
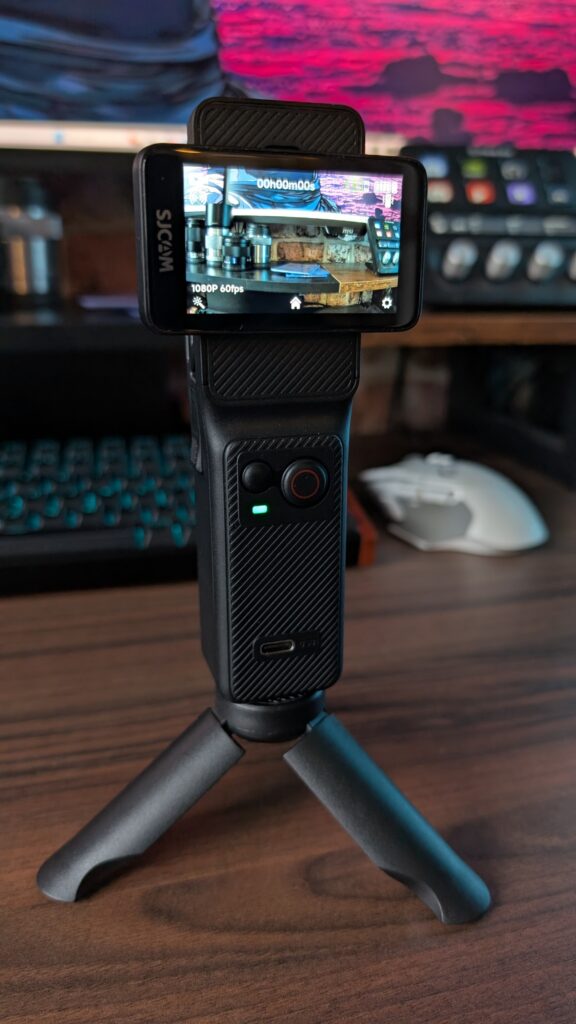
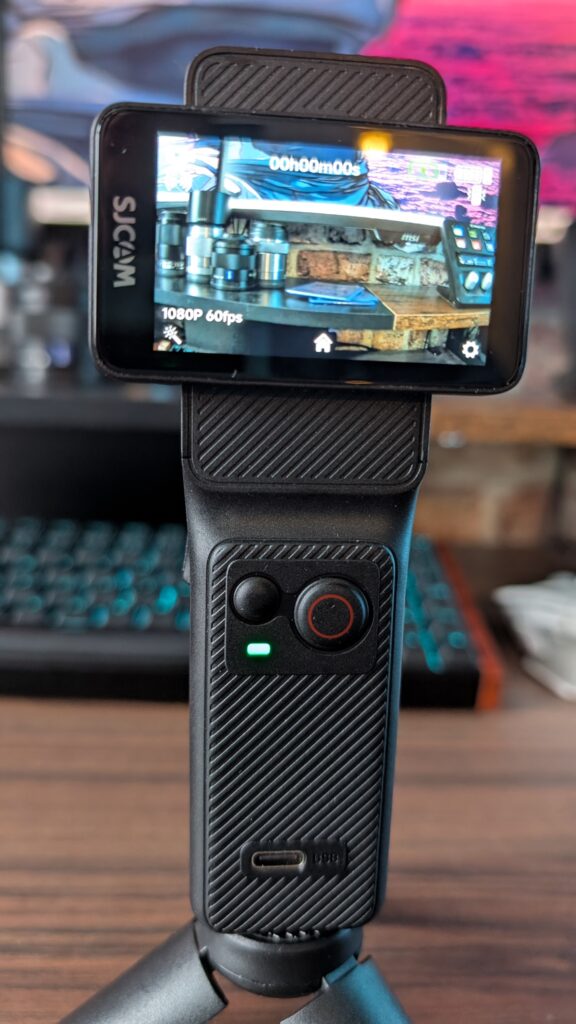
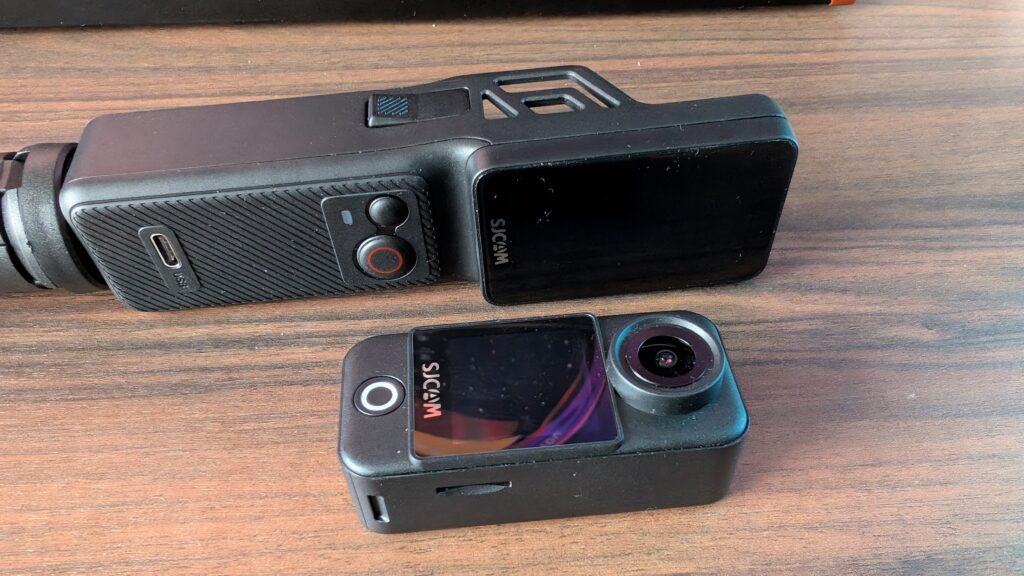
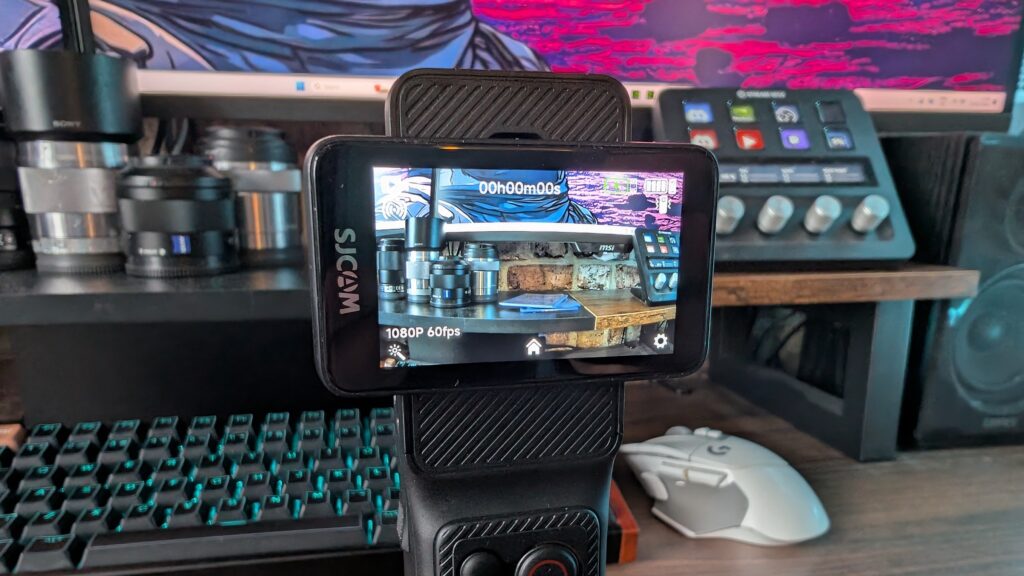
But let’s talk about it as a whole because you’ll need to understand the setup first, because SJCAM call this a three-in-one action cam, but I don’t really know why. I know the camera has a decent amount of functionality, but as for three-in-one, no clue. The device does come in two parts – the small action camera itself and the handle, which has a couple of buttons and a screen. Its USP is the fact that the screen is rotatable, and twisting it powers on the action cam. There’s also a vertical filming mode which can be activated for your Instagram Reels and TikToks. Though if you do rotate the screen back so it’s a vertical aspect ratio, it will give you three seconds to interrupt the power-down cycle. Now I’m not really a massive fan of this, just because of the strain that could be caused to the hinge from constant rotating, and I liken it to modern-day flip phones. I can just see it breaking quickly. You can turn on the action cam using a button on the front of the handle, and I wish the camera could auto-detect the aspect ratio based on the orientation of the screen rather than having to dive into a setting to change it. Would have made way more sense rather than using screen rotation for power. To remove the action camera from the handle, there are two clips on either side. Just pinch and pull, and the two will separate easily. Now this is what has been a bit of a let-down for me because there is only one screen on the front of the small action cam itself, sitting under the lens.
I will say though that there are an insane amount of accessories that come in the box and running through them you get a waterproof case, a frame mount with GoPro style bracket, a base back clip, a back clip, a base mount, a curved and flat mount for the clip, one screw, one small tabletop tripod, one for a GoPro mount, one lanyard, one magnetic necklace mount, two 3M adhesive stickers, a usb type C cable for charging and a case. I mean, if that’s not an impressive selection of accessories, then I don’t know what is. I know when I bought my Osmo Action 4, I needed to buy an accessories kit to go with it from eBay with all that stuff in there.
And for the cool price of 200 dollars, and yes, I can’t find a price in pounds because when you click United Kingdom on the SJCam website, it comes up with dollars. I do think its a bit of a steal, though it does have its faults and iffy design when it comes to the screen. It’s not a bad product, and it can produce some fairly decent imagery within reason and in broad daylight. Price-wise, it’s not much less than the Osmo Action 4, coming in at £200 for the standard package on Amazon, and unfortunately, between the two I’m going for the Osmo for my needs. If you need super long battery life and a handle and all the accessories, then I dunno, maybe the C400 is for you. Is it portable or even functional enough to be considered an action cam, though? I don’t think so. If you’d like to find out more info, then visit the SJCam website.